


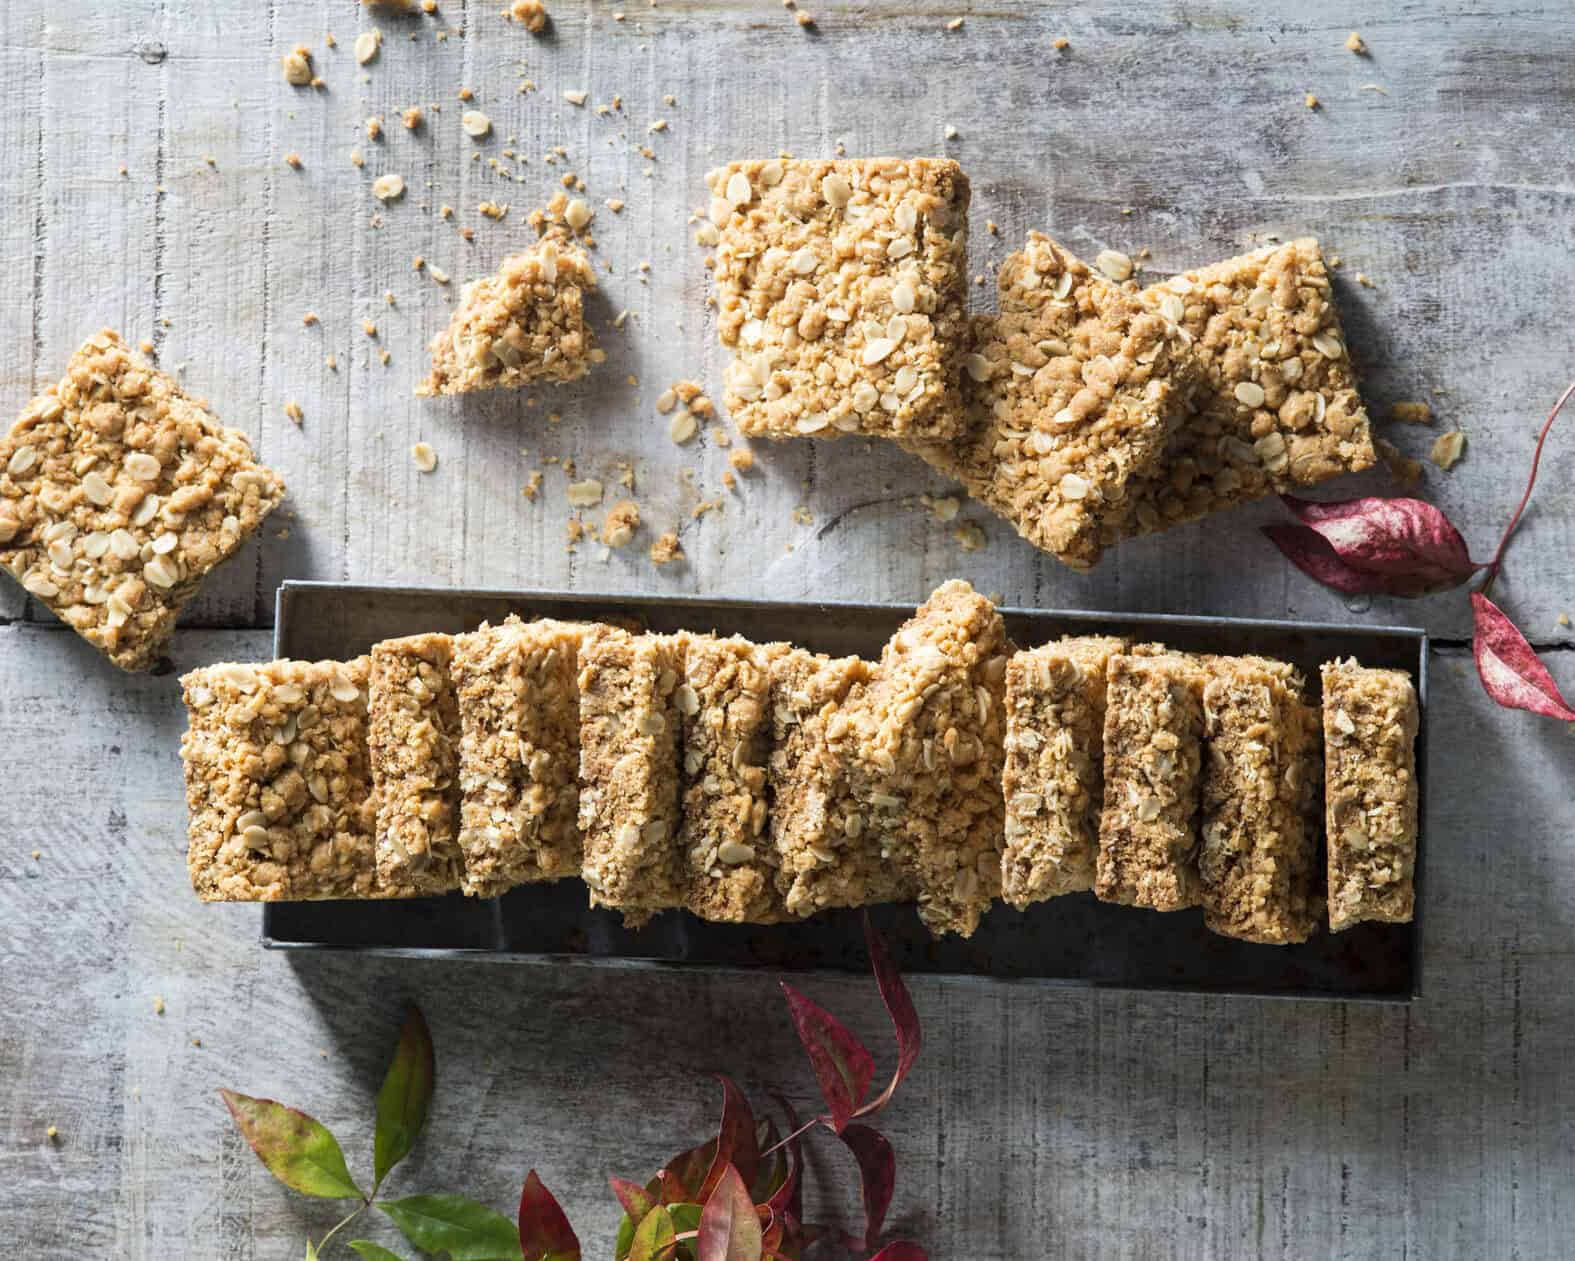
Kolac: Dried Apricot + Ricotta Crumble Slice
Pastry. Cheese. Apricots. Crumble. Yes!!!!

The #LetsLunch post for this month, October, is ‘High Tea’ …and how we love high tea in our house. We are on holidays (vacation!) this week – school is out and we are having a break at the beach with our teenage kids. So what better time than to whip up something DE-LICIOUS for afternoon tea.
In our family, we love tarts – both savoury and sweet! My late mother-in-law Talia used to make the simplest and most delicious raspberry tart, and that recipe is now in our cookbook.
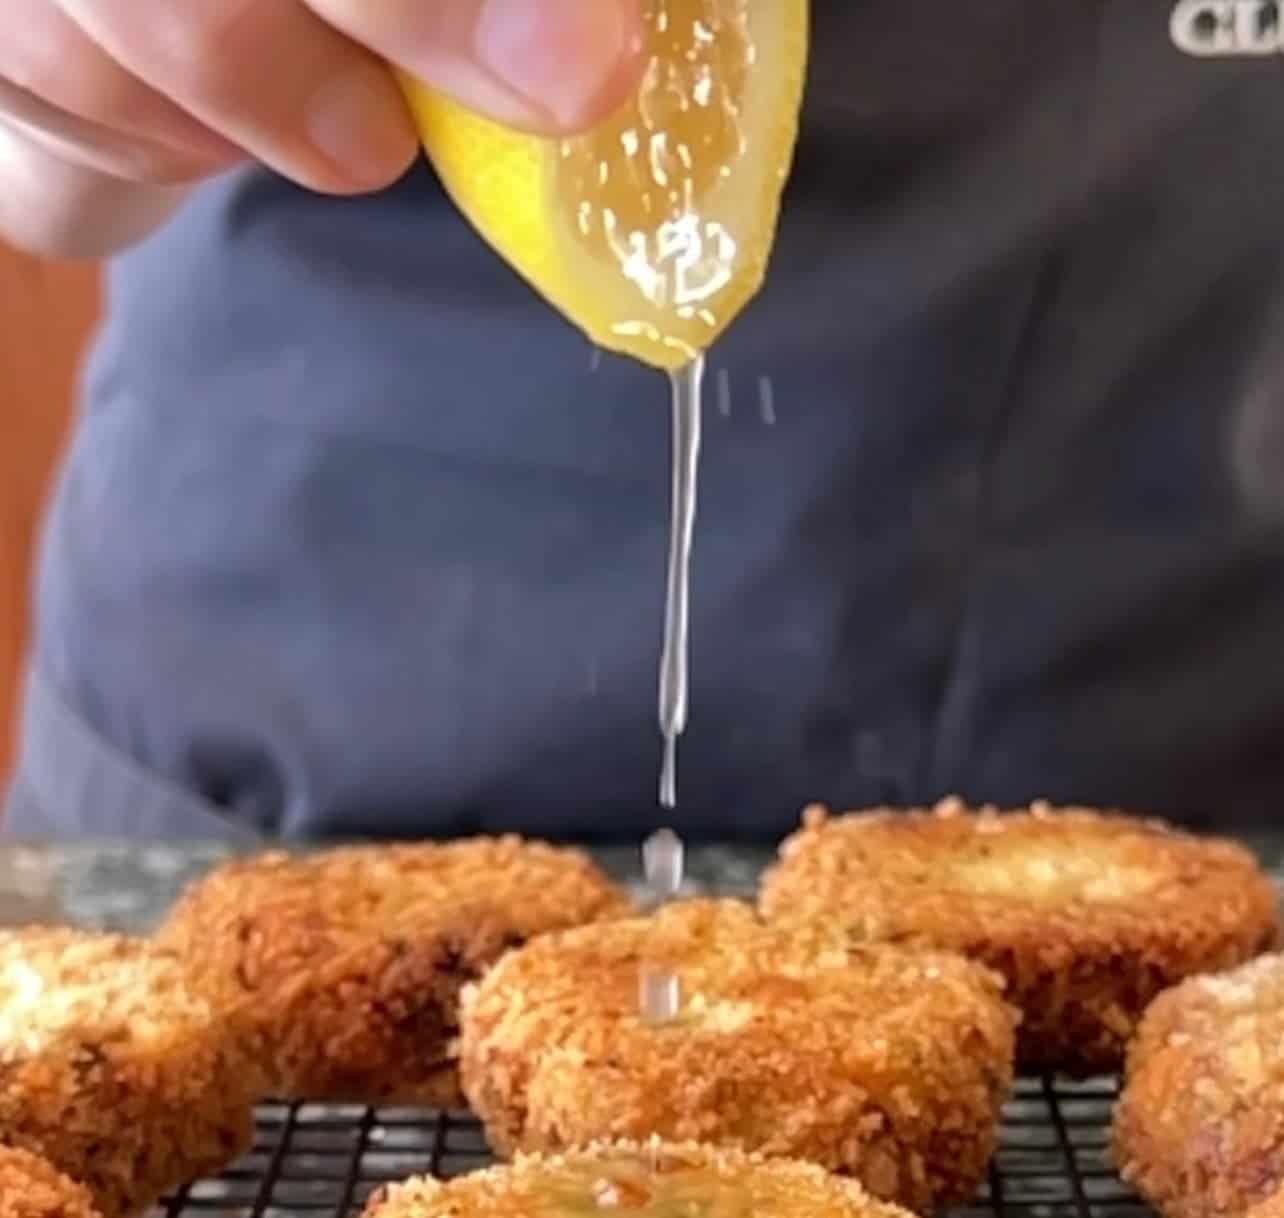
We made the first part of this #LetsLunch recipe (tiny little lemon tarts) for daughter Jessie’s high tea (we really do love it!) for her 17th birthday a few months ago. This time we thought we’d add a meringue topping and make tiny little lemon meringue tarts/pies.
The kitchen here is limited, but we did our very best and we are happy with the result! I enlisted Jessie’s help to make them, and we knew that the boys with us (sons and friends) would be more than happy to do the tasting and critiquing. They consider themselves expert at both!
With fingers, crumb together the butter, sugar and flour until uniformly mixed. Press all together to form a dough, and knead lightly until it can form a ball. Flatten slightly to form a disc. Wrap and refrigerate for 30 minutes.
You will need moulds for the tarts. We used a mini-muffin tin. First we tried the underside of the tin, and put a disc of pastry over the top of the ‘base’ of the muffin. They were too big. Better to use the inside of the tin, but it is hard to get perfect shells. They are really really rustic, and we like them that way (lucky).
Roll out the pastry on a floured board ideally until quite thin, say 1.5 mm. Ours were much thicker, and still tasted great. Use a plain round or crinkle cookie cutter (or small glass) to cut out circles just bigger than the base of the mini muffin. Take the circle you have cut out and place inside the muffin tin and press gently into the corners. This is where tiny fingers are really an asset (which we do not have!)
Pop the tin in the freezer for 20 minutes while you preheat the oven to 190 C (375 F). Bake tart shells for about 10 minutes (give or take a few minutes) until light golden. Allow to cool. Gently remove shells from the tin. They will keep for at least a week in an airtight container.
In a small heavy based saucepan, whisk the eggs, egg yolk & sugar to dissolve.
Add the juice and lemon zest and butter and cook on a gentle heat, whisking from time to time until really nice and thick. It should take around 10 minutes. Allow to cool. stirring from time to time. Pour into a bowl and cover with plastic wrap, pressing the plastic onto the surface. Refrigerate for at least several hours or overnight.
When ready to serve, spoon or pipe the cooled lemon curd into the tart shells. If not adding meringue, the curd can be piped quite high. If adding a meringue topping, flatten the lemon curd at tart shell level with a knife. (We just used a teaspoon and ate the top peak of the lemon curd that was too high – it is delicious!)
To add a meringue topping, you will need 4 egg whites and 115 g (1/2 cup) caster sugar. Beat the egg whites until stiff peaks start to form and then slowly add the sugar, whisking all the time. Whisk until glossy and thick. Put into a piping bag (we just used a plastic sandwich bag, put the meringue inside and then cut a hole in the corner) and pipe on top of the lemon curd. We tried to pipe it with a little point at the top.
Preheat the oven to hot (200C/400F) and put the griller (broiler) on full heat. Place the tray of tarts in the oven for a few minutes only until the tops of the meringue are browned.
Recipe by: Mish Lilley from her gorgeous blog at www.mishdelish.com


Check out the other LetsLunch posts here:


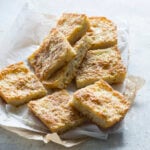
Pastry. Cheese. Apricots. Crumble. Yes!!!!
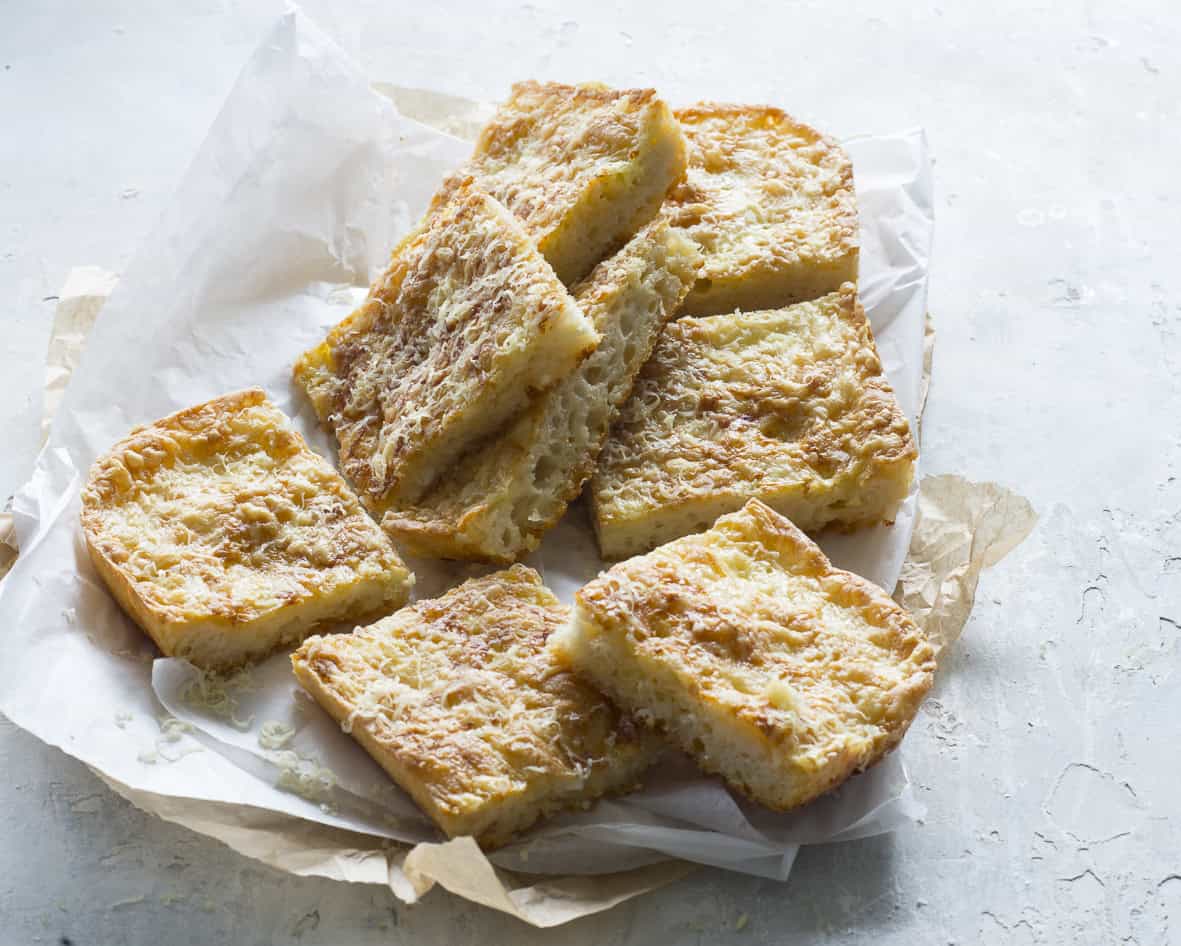
Turkish Cheese Bread: Perfect for Shavuot
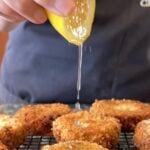
I want to call these ‘Jewish Fried Fish Cakes’. They have so many elements that feel like Jewish home cooking. My Polish grandfathers both adored
Anzac Day baking.